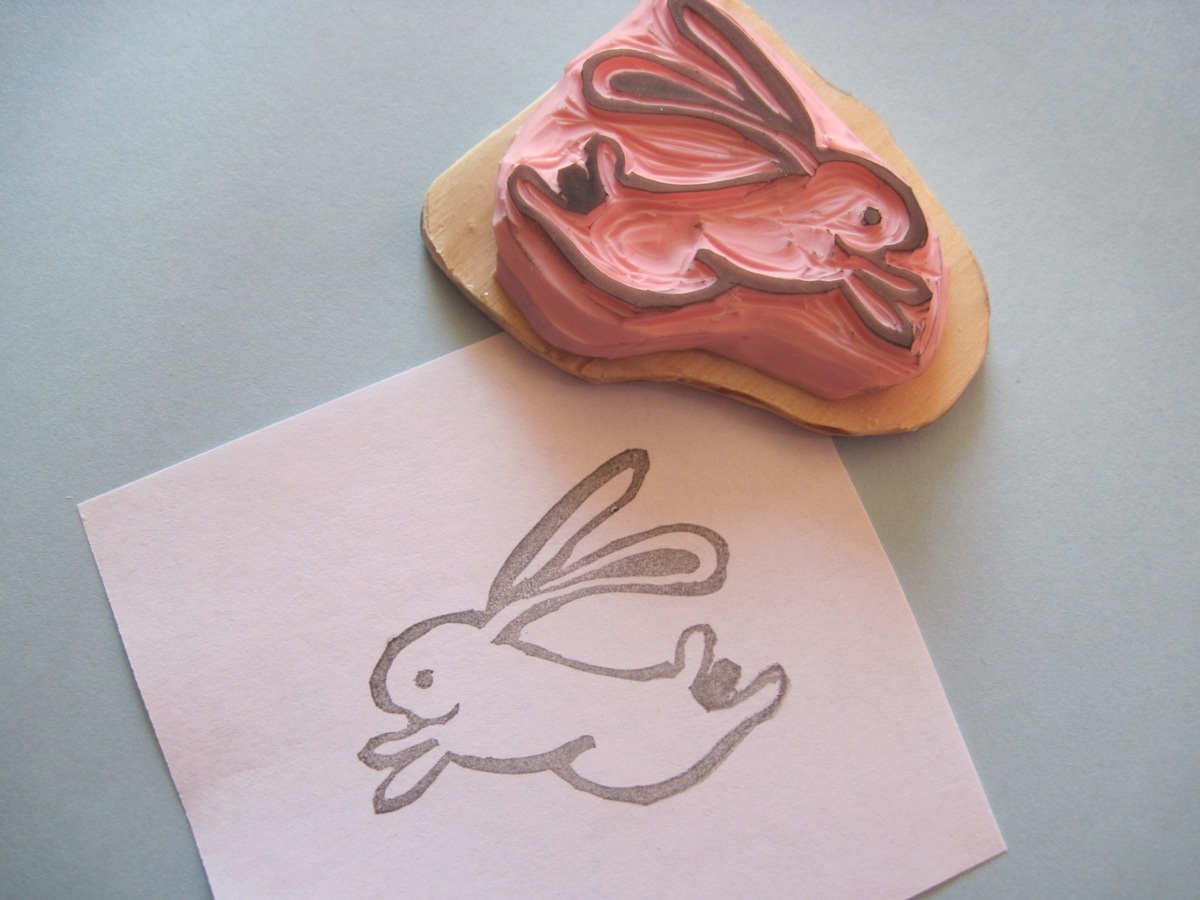
When I first joined etsy I really hoped to sell more crochet items. I tried, and posted many things... they just did not sale. My stamps took off though! :-) I even designed my own fingerless gloves and sold the pattern on etsy. I had two buyers... not complaining, I am happy about that. I just do not want this cute little easy pattern to sit in my computer and not get used... sooooo I am posting it for free :-) I hope you enjoy, it is pretty easy to follow and the pics should help.
Lacey Crochet Fingerless Gloves Size F hook
Med. weight yarn (4), shown in Red Heart Collage in Blue Wave
This pattern is for a ladies size medium
Abbreviations used:
St – stitch
Slst – slip stitch
Ch – chain
Sc- single crochet
Bpsc – back post single crochet
Dc – double crochet
Fnst - Fan stitch – 2 dc, ch 1, 2 dc, all in same space
Hfnst - Half fan stitch – dc, ch 1, dc, all in same space
PATTERN
Make 2
You will start with the cuff, it is worked in rows and then sewn together to make a tube. You will work in the back loop to make a stretchable cuff.
Row 1: ch 11, sc in 2nd ch from hook and in each ch across, ch1, turn (10 sc)
Row 2: sc in first sc, bpsc (picture#1) in the other 9 sc across, ch1, turn (10 sc)
Rows 3- 32: repeat row 2 (32 rows total) be sure to regular sc in first st, and bpsc in the other 9, this will give a ridged look (picture#2)
Fasten off leaving long tail for sewing. Whip stitch together to make a tube. (picture#3)
Now you will begin the palm of the glove, working in rounds
Round 1: Attach the yarn with a slst to either end of the cuff,(picture#4) ch 1, sc in same spot slst was made, sc evenly around cuff for a total of 32 sc, join with slst to first sc
Round 2: ch2 (counts as 1st dc in fnst)(picture#5), dc in same st as slst, ch 1, 2 dc in same st (1 fnst made)(picture#6),* skip next 4 st, in the fith st (2 dc, ch 1, 2 dc) Fnst made* repeat from * to * 4 more times, skip 3 st, in the 4th st (1 dc, ch 1, 1 dc) hfnst made(picture#11), join with slst to top of ch2 at beginning of round (picture#7) (6 fnst, 1 hfnst)
Round 3: slst in next dc, slst into ch 1 space (picture#8), ch 2(picture#9), dc, ch1, 2dc all in same ch 1 space (fnst),* fnst in next ch 1 space * repeat form *to * 4 more times (picture#10), hfnst in the ch 1 space of hfnst in previous round (picture#11), join with slst to top of ch2 at beginning of round (6 fnst, 1 hfnst)
Round 4-6: repeat round 3 (you can lengthen or shorten the glove at this point, if you have a smaller hand do not make as many rounds, if you want your glove to cover more of your wrist and forearms you can add more rounds.
Round 7: beginning of thumb opening: Continue same as round 2 until you complete 6 fans stitches, turn
Round 8: slst in next 2 dc, slst in ch 1 space, ch2, dc, ch 1, 2 dc in same ch 1 space (picture#12). Continue fnst around ch1 spaces (6 fnst) ch3; join round with slst to top of ch 2 of beginning of same round (picture#13), ch 1, turn
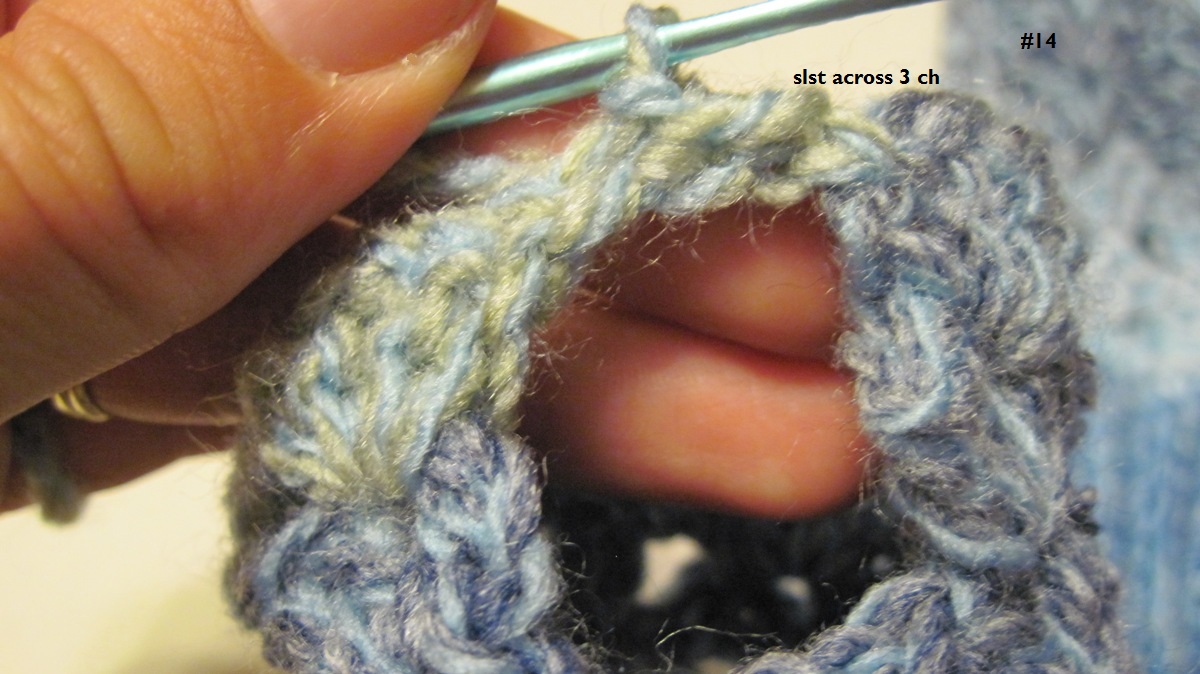
Round 9: slst in next 3 ch (picture#14), slst in next 2 dc, slst in ch 1 space(picture#15), ch2, dc , ch 1, 2 dc in same space, continue fnst around in ch 1 sp for a total of 6 fnst, in 2nd slst work hfnst (picture#16), join with slst to top of ch 2 at beginning of round
Round 10-11: Repeat row 2, fasten off and weave in all ends, glove complete ;-)!